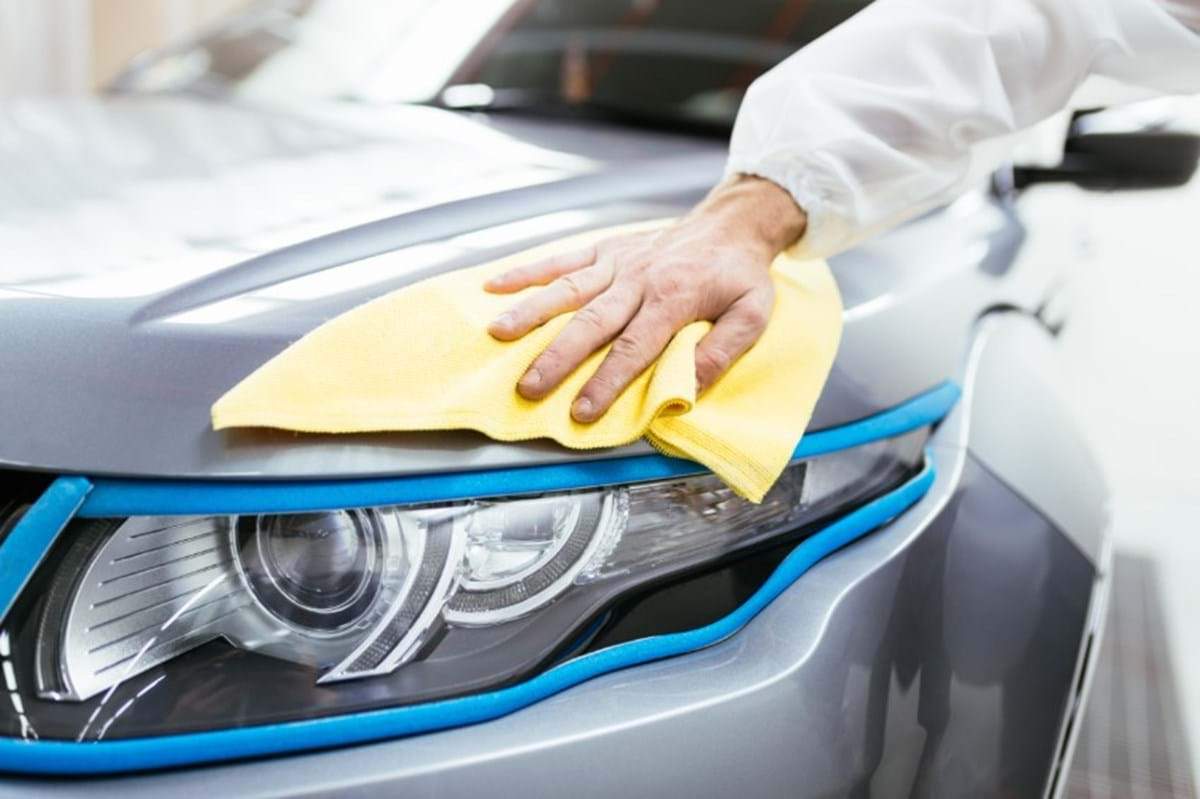
Waxing your car is an important part of vehicle maintenance and helps protect the paint and keep it shiny. If you’re wondering how to wax your car at home, you’ve come to the right place. This complete guide will walk you through everything you need to know to get a professional look without spending a fortune at a car wash.
Gather Your Supplies
Before you start waxing, it’s important to gather all of the necessary supplies. You’ll need a good quality car wax, a microfiber applicator pad, and a microfiber cloth for buffing. You may also need a piece of clay and lubricant to prepare the surface before waxing. Having all of your supplies on hand will make the entire process smoother and more efficient.
Choose the Right Wax
Choosing the right wax is crucial to getting the best results. There are different types of wax, such as liquid wax, paste wax, and spray wax. Liquid wax is easier to apply and remove, making it a great choice for beginners. Paste wax provides longer lasting results, while spray wax allows for quick and easy touch-ups. Consider your needs and choose the wax that works best for you.
Wash Your Car Thoroughly
Before waxing, your car should be thoroughly washed to remove dirt, grime, and old wax residue. Use car wash fluid and a soft sponge or cleaning mitt to gently clean the surface. Make sure to rinse the car thoroughly and dry it with a microfiber towel to prevent water spots. Washing your car not only prepares the surface for waxing, but also improves its overall appearance.
Clean the Surface
Once your car is clean, it’s time to sanitize the surfaces. This step is often overlooked, but is crucial for a smooth finish. Use a clay bar and lubricant to remove any embedded contaminants such as tar, tree sap, or industrial fallout. Gently rub the clay bar in straight lines across the paint and you’ll feel it pick up dirt. After decontamination, wipe the surface with a clean microfiber cloth to remove any residue.
Applying Wax
Once the surface is clean and smooth, it’s time to apply wax. Take a microfiber applicator pad and apply a small amount of wax. Start with a small area of the car, preferably the hood, to get a feel for the application process. Apply the wax in circular motions, using light pressure to evenly distribute the wax over the paint. Remember, less is more; you don’t need to apply a thick layer.
Allow the Wax to Set
After you’ve applied the wax, you’ll want to allow it to cure for a short period of time. Check the instructions on the wax container for specific curing times, as they can vary. Generally, letting the wax sit for about 5 to 10 minutes is enough. You’ll know it’s ready to polish when it starts to look cloudy. Curing bonds the wax to the paint, providing maximum protection.
Polishing Wax
Once the wax has hardened, it can be sanded off. Use a clean microfiber towel to gently wipe away any lint in a straight line. Avoid circular motions at this stage, as these can leave curling marks. Instead, focus on one section at a time, turning the towel to the clean side as needed. The goal is to reveal a smooth, protected surface that enhances the depth of the car’s color.
Check Your Work
After you’ve polished the entire car, take a moment to inspect your work. Look for any spots that you may have missed or where the wax hasn’t fully polished. If you notice any imperfections, you can always re-wax those areas and re-polish. This step will ensure that your car gets an even, consistent shine.
Maintain Your Wax
To keep your car looking great after waxing, consider regular maintenance. Washing your car every few weeks removes dirt and prevents buildup that can dull your paint. Additionally, using a quick spray-on wax after cleaning can enhance shine and provide extra protection. Maintaining your wax job will extend the life of your wax and keep your car in tip-top shape.
Enjoy the Results
Finally, take a step back and enjoy the fruits of your labor. Waxing your car not only protects your paint, but also gives it a beautiful shine that is a real eye-catcher. Whether you’re driving around the neighborhood or parking at the grocery store, you’ll feel proud of yourself for getting the job done. Plus, the satisfaction that comes from a job well done is unmatched.
Conclusion
Waxing your car at home is a rewarding experience that saves you money and gives your car the care it deserves. By following these steps, you can achieve a professional-looking finish that protects your car’s paint and enhances its appearance. So gather your supplies, set aside some time, and get ready for a beautiful, sparkling ride. Happy waxing!


