Washing your car at home can save you money and give you a sense of accomplishment. Plus, it’s a great way to keep your vehicle looking its best. If you’re ready to roll up your sleeves and get started, here’s a simple step-by-step guide to washing your car at home.
Gather Your Supplies
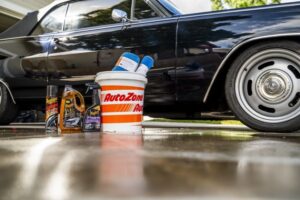
Before you begin, gather all the necessary supplies. You’ll need a bucket, car wash soap (avoid dish soap, which can strip wax), microfiber wash mitts or sponges, a hose with a spray nozzle, wheel cleaner, brushes for the wheels, and drying towels. Optional items include wax, tire shine, and glass cleaner for a complete finish.
Choose the Right Location
Pick a shaded area to wash your car, especially if it’s a sunny day. Direct sunlight can cause soap to dry too quickly, leading to streaks. An even surface, like your driveway, will make the process easier and cleaner.
Rinse the Car
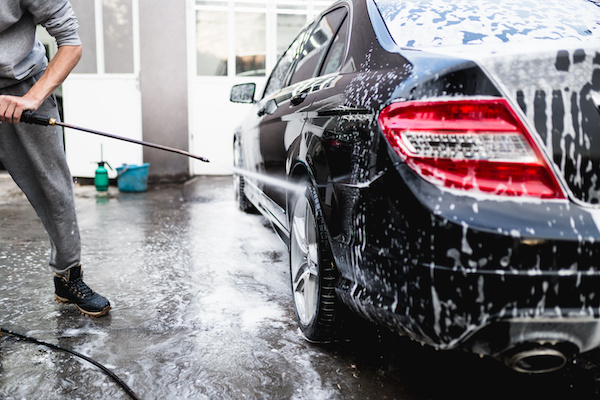
Start by rinsing your car with water to remove loose dirt and debris. Use a hose with a spray nozzle to ensure a thorough rinse. Focus on the areas that tend to collect the most grime, like the lower panels and wheel wells. This step helps prevent scratches during washing.
Prepare Your Wash Solution
In a bucket, mix the car wash soap with water according to the instructions on the label. It’s important to follow the recommended ratios for the best results. If you have two buckets, use one for the wash solution and the other for rinsing your mitt or sponge. This technique helps avoid transferring dirt back onto the car.
Wash the Wheels First
Since the wheels are often the dirtiest part, start there. Spray wheel cleaner on each wheel and let it sit for a minute before scrubbing with a brush. Make sure to clean the tires as well. Rinse the wheels thoroughly before moving on to the rest of the car.
Wash the Car in Sections
Using your wash mitt or sponge, start washing the car from the top down. Work in sections, such as one side of the car at a time. Dip the mitt in the wash solution and gently scrub the surface, rinsing it in the clean water bucket often to remove dirt. This method helps prevent scratches and keeps the wash mitt cleaner longer.
Rinse Each Section
After washing a section, rinse it with water immediately to prevent soap from drying on the paint. Repeat the washing and rinsing process for each section of the car, making your way around until you’ve washed the entire vehicle.
Dry the Car
Once your car is clean, it’s time to dry it. Use microfiber drying towels to soak up excess water. Start from the top and work your way down, ensuring you get into crevices and around trim pieces. Patting the surface rather than wiping helps prevent scratches.
Detail the Windows and Mirrors
Use glass cleaner and a microfiber cloth to clean the windows and mirrors. Make sure to clean both the inside and outside of the windows for clear visibility. Don’t forget to wipe down the rearview mirror and side mirrors, too.
Apply Wax for Extra Protection (Optional)
If you want to give your car an added layer of protection and shine, consider applying wax after washing and drying. Follow the instructions on the wax product you choose, applying it in small sections. Buff it off with a clean microfiber cloth for a brilliant finish.
Tire Shine for a Finishing Touch
For that extra pop, apply tire shine to the tires for a clean, glossy look. Follow the product’s instructions for the best results. This step not only enhances the appearance but also helps protect the rubber.
Final Inspection
Take a step back and inspect your work. Look for any spots you might have missed, especially around door handles and other nooks and crannies. Touch up any areas that need attention to ensure your car looks its absolute best.


